Setting up Morrow Church in an afternoon
Morrow ships as a complete website for a fictional church. This is the order to replace it in, so you are done by the evening.
Templates
5 min read
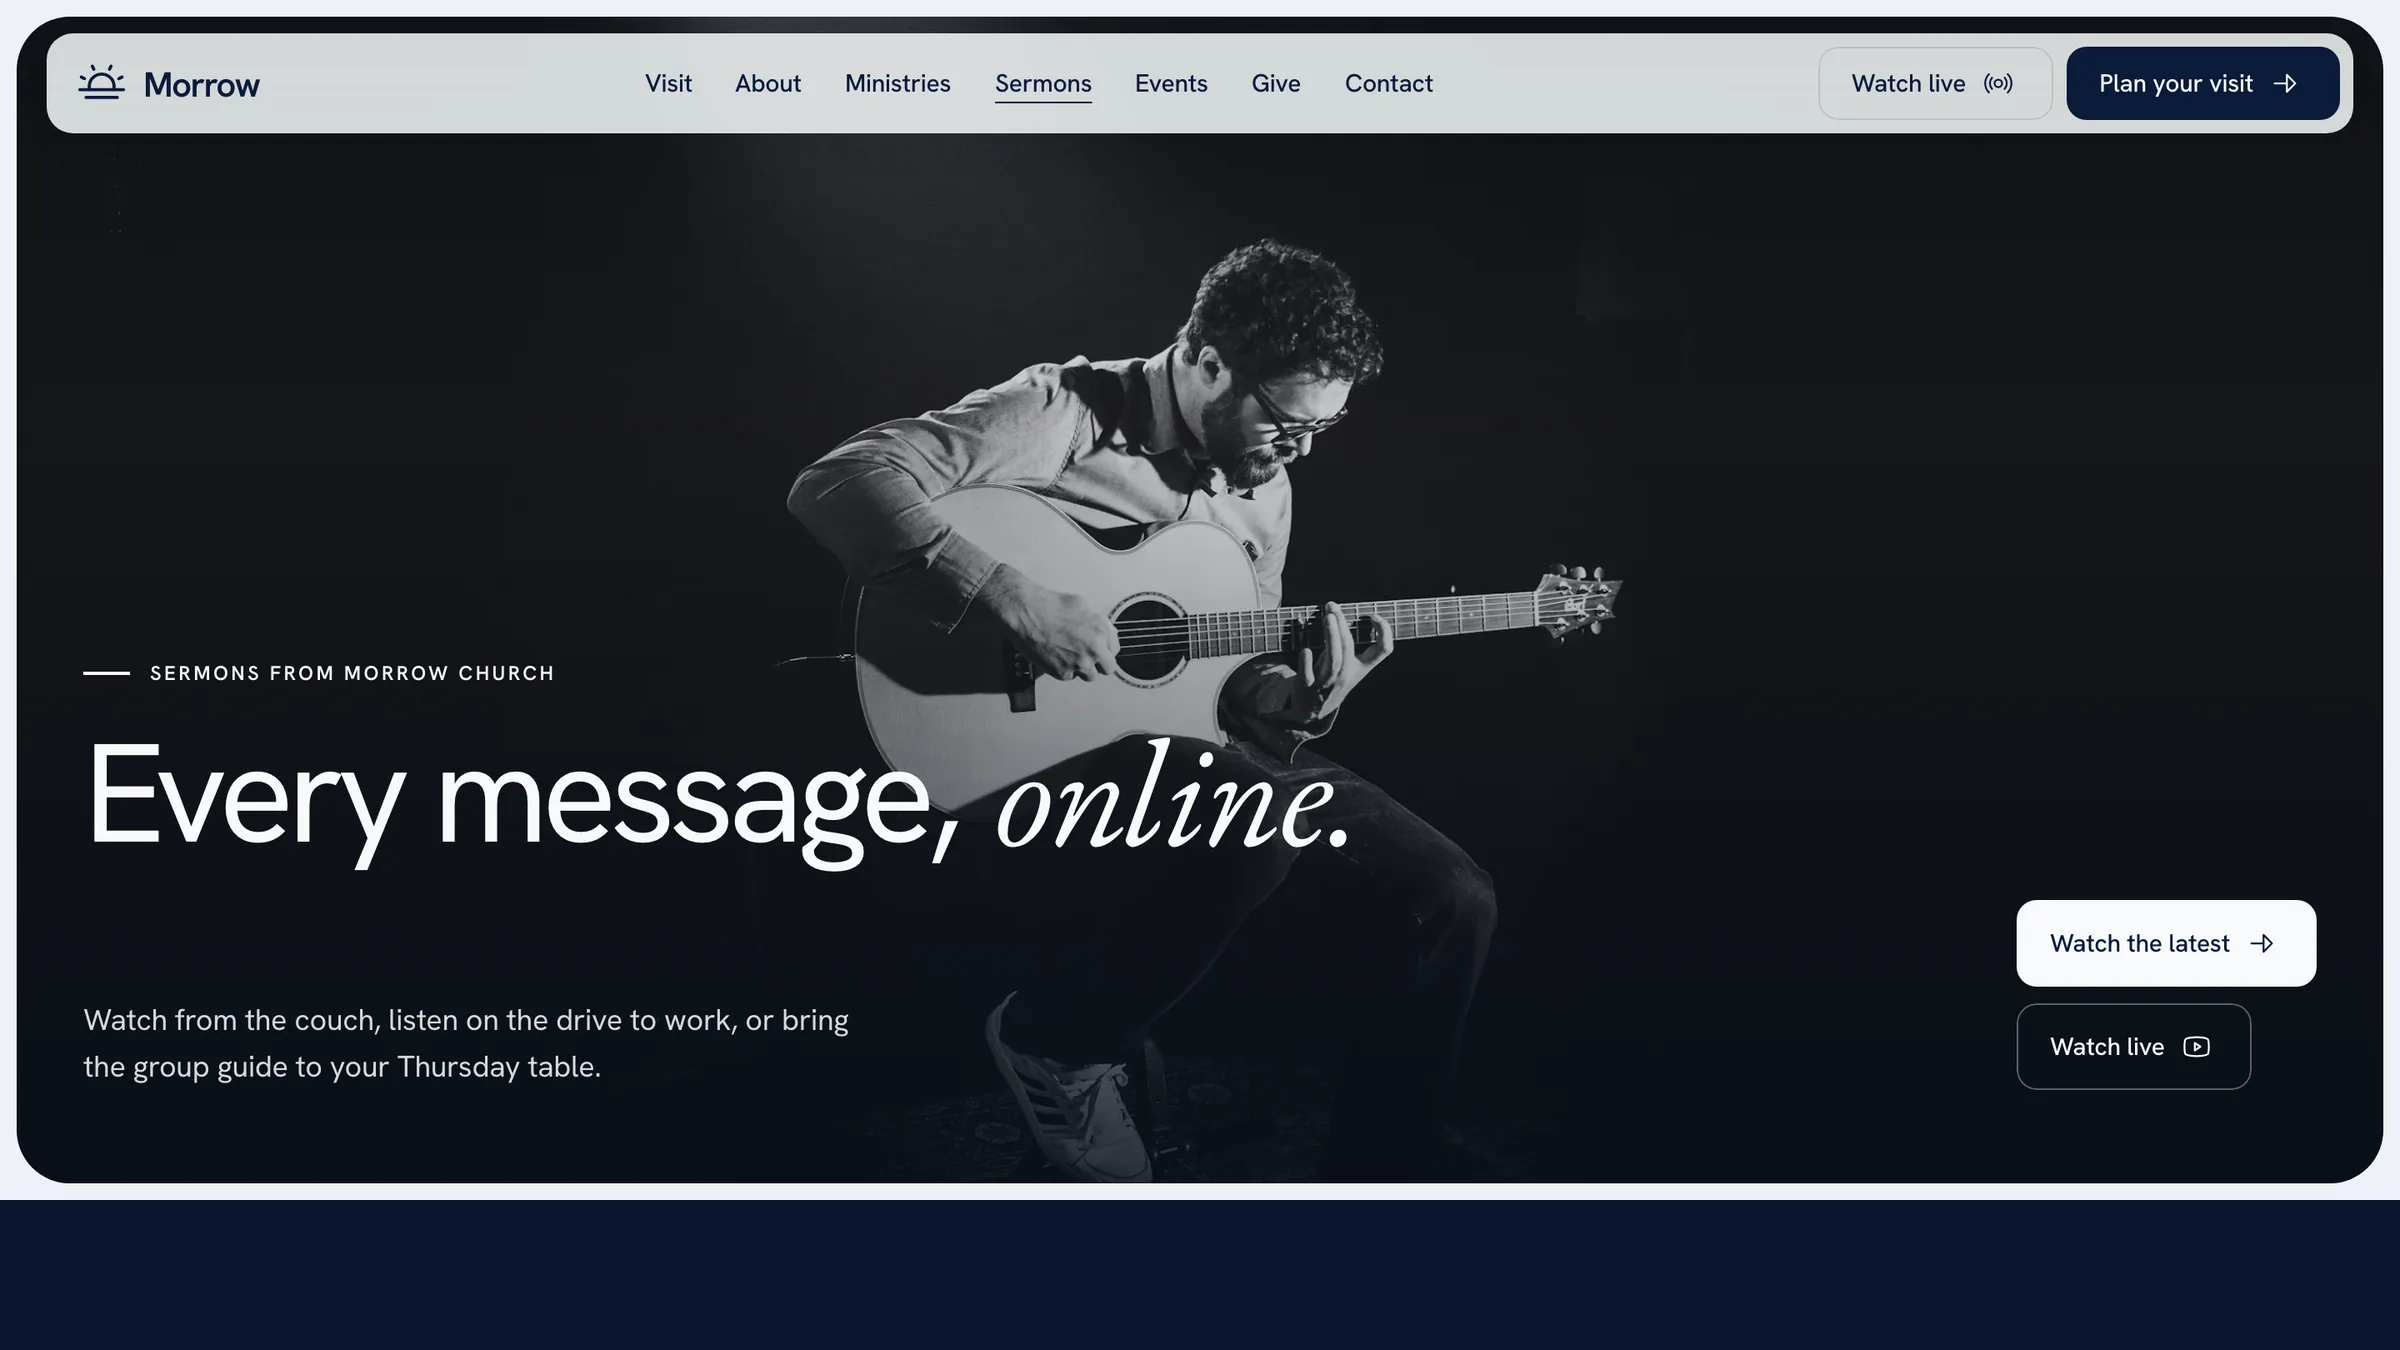
Morrow Church ships as a complete website for a fictional church in a 1927 firehouse. Every page has real copy, every list is filled and every form works. That is useful for judging the design, and it also means there is a lot to replace. This guide walks you through it in the order that saves the most time.
Plan for an afternoon. You don’t need to know Framer beforehand, but have your church’s details, your logo and a handful of photos ready before you start.
Before you start: remix the template
Open Morrow Church on the Framer Marketplace and choose Remix. Framer copies the whole project into your own workspace. Nothing is shared with the original, so you can change anything without breaking someone else’s site. You can work on Framer’s free plan until you publish on your own domain.
Open the project and look at the left panel. The pages are listed there, including two you won’t publish: the Styleguide and the Setup Guide. Both are hidden from search engines and exist only to help you.
1. Colors and fonts first
Start with the things that change every page at once. Open the Assets panel and look at Colors. Morrow uses a small set of named color styles, Ink, Brand and Sky among them. Change one and every button, heading and card that uses it follows.
Text styles work the same way. They control every heading and paragraph on the site. Morrow uses Hanken Grotesk for most text and EB Garamond for the italic accent words, both free Google Fonts. If your church has its own typefaces, swap them in the text styles rather than on individual pages.
When you are done, open the Styleguide page. It shows every color, text style, button and card in one place, so you can check in one look whether your new palette still reads well.
2. Replace the demo church
The fictional church’s name, address and phone number appear in a few fixed places. Work through them in this order:
The footer: address, service times, email, phone and social links. It appears on every page, so this one change covers a lot of ground.
The Contact page: phone, email, address and the location of the Google Map.
Site Settings, General: site title, description, favicon and the image people see when someone shares your site.
Site Settings, Custom Code, the block labelled MORROW-SEO: your church’s name, website address, street address, phone, email and social profiles. Search engines read these values, so keep them accurate.
The Imprint and Privacy pages contain example text. Replace them with your own legal text before you publish. We can’t tell you what yours needs to say, but your denomination or a local association can often point you to a template.
3. Sermons
Sermons live in the CMS, Framer’s built-in content list. Open CMS, then Sermons. Each entry has fields for title, date, speaker, passage, series, length, image, summary, notes, video link and video thumbnail.
Add your most recent sermon first. It will appear automatically on the home page and at the top of the Sermons page, because both sort by date. Then delete the demo sermons, or keep a few as examples until you have three or four of your own.
The series filter on the Sermons page reads the Series field. To start a new series, add it there and give your sermons that series. Notes support scripture quotes: in a quote, the last paragraph is shown as its source.
4. Events
Events work like sermons. Open CMS, then Events. Each entry has a title, date, time, location, address, category, cost, image, summary, details and an optional sign-up link. Events appear on the home page and the Events page, sorted by date.
One thing to know: Framer lists don’t hide past dates on their own. Remove events once they are over, or move a recurring event to its next date. Five minutes every Monday keeps the page honest.
Event images work best at a 4:3 ratio with any text inside the center square. That way the same image crops cleanly on the small cards and on the event page.
5. Weekly schedule and holiday breaks
Regular gatherings, such as Sunday services or a weekly dinner, are fixed text on the Events and Visit pages, so they don’t clutter the CMS. Edit them directly on those pages.
For a break, open the Schedule Notice component, write your message and switch Show on. It appears at the top of the relevant pages. Switch it off again when you are back to the normal schedule.
6. Forms
Morrow has four forms: Contact, Plan Your Visit, the event sign-up and the newsletter in the footer. Select each form and choose in its settings where submissions should go, by email or through an integration. Send yourself a test from the published site before you tell anyone about it.
The confirmation message after sending is the Success Text of each form’s submit button. Keep the button variants named Success and Light Success. A small code block called MORROW-FORM-SUCCESS uses those names to hide the fields once a form has been sent.
7. Video, podcasts and the footer motto
The Watch live button in the header and the YouTube, Spotify and Apple Podcasts buttons point to the platforms’ home pages. Replace them with your own channel and show links. Each sermon has its own video link in the CMS, so you only set the channel links once.
The large motto at the bottom of the footer is a component that always fills the full width. Change its text, the accent word, the fonts and the color in its properties panel on the right.
8. Before you publish
Click through every page on your phone using Framer’s preview.
Check the cookie banner texts and the link to your privacy page.
Make sure no demo name, address or phone number is left. Search the project for “Morrow” and “Haywood”.
Leave the labelled code blocks in Site Settings in place unless you know you don’t need them.
Then publish to your free Framer address first, look at it once more, and connect your own domain when you are happy. Our guide on connecting your own domain covers that step.
Rather have it done for you?
We set up your template with your words, photos and domain in five business days, for a fixed price.
Keep reading